1. Create Custom Login Links
It is very obvious that in order to access the WordPress admin panel, all one has to do is type in the url of the site with /wp-login.php. Now if you used a same password in more than one location, and it was jeopardized then it is easy for the hacker to hack your site. A plugin called
Stealth Login allows you to create custom URLs for logging in, logging out, administration and registering for your WordPress blog. You can also enable “Stealth Mode” which will prevent users from being able to access ‘wp-login.php’ directly. You can then set your login url to something more cryptic. This won’t secure your website perfectly, but if someone does manage to crack your password, it can make it difficult for them to find where to actually login. This also prevents any bots that are used for malicious intents from accessing your wp-login.php file and attempting to break in.
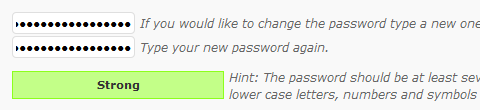
2. Pick a Strong Password
This is a very obvious step, but we must mention it as it can’t be emphasized enough. Do not use the same password in other places. Try to make each password different and hard to guess. Use the WordPress Password Strength Detector to your advantage and make your password strong. Another thing you want to do is change your password periodically, so even if some has guessed your password, it is useless to them once you have changed it.
3. Limit Login Attempts
Sometimes the hacker might think they know your password, or they might develop a script to guess your password. In that case what you need to do is limit the login attempts. You can easily do so by using a plugin called
Limit Login Attempts which will lock a user out if they entered the wrong password more than the specified time. They will be locked out for a specified time. You can control the settings via your wp-admin panel.
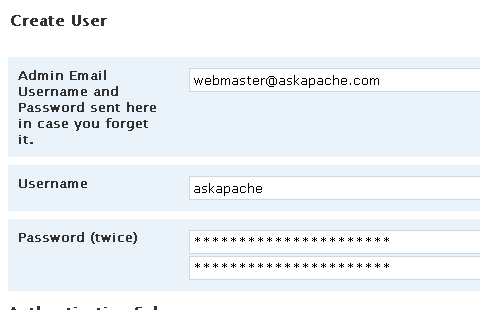
4. Password Protect WP-Admin Directory
There is nothing wrong with having two passwords. It just adds another level of security to your WordPress Admin Area. This can be done by using a plugin called
AskApache Password Protect. It encrypts your password and creates the .htpasswd file, as well as setting the correct security-enhanced file permissions on both. You can also use cPanel Password Protection on a Directory if you are using a cPanel Web Host to password protect wp-admin directory.
5. Limit Access via IP Address
You can limit access to your WP-Admin Panel and only allow certain IP Addresses to access. All you have to do is create a .htaccess file in /wp-admin/ folder if there is not one there already. Paste the following code:
02 | AuthGroupFile /dev/null |
03 | AuthName "WordPress Admin Access Control" |
08 | # whitelist Syed's IP address |
09 | allow from xx.xx.xx.xxx |
10 | # whitelist David's IP address |
11 | allow from xx.xx.xx.xxx |
12 | # whitelist Amanda's IP address |
13 | allow from xx.xx.xx.xxx |
14 | # whitelist Muhammad's IP address |
15 | allow from xx.xx.xx.xxx |
16 | # whitelist Work IP address |
17 | allow from xx.xx.xx.xxx |
Change the IP Address and it will work. The downside to this hack is that if you ever want to access the admin panel from some other place, you won’t be able to do so unless you add that extra IP in your .htaccess file.
Update: In the comments Henry suggested an alternate way using htpasswd and combo with the IP which will allow you to enter from other places as well.
Check it out here.
6. Remove Error Message on the Login Page
When you enter a wrong password or an invalid username, you get an error message in the login page. So if a hacker gets one thing right, the error message will help them identify that. Therefore it is recommended if you remove that error message entirely. Open your functions.php located in your theme folder and paste the following code:
1 | add_filter('login_errors',create_function('$a', "return null;")); |
A plugin called
Secure WordPress also accomplishes this and it has other features as well. Check it out to see if you are interested.
7. Use Encrypted Password to Login
When you don’t have SSL enabled, this method comes in handy. There is a plugin that lets you do this job, and it is called
Semisecure Login Reimagined. Semisecure Login Reimagined increases the security of the login process using an RSA public key to encrypt the password on the client-side when a user logs in. The server then decrypts the encrypted password with the private key. JavaScript is required to enable encryption.